🔧How to Fix a Flooded Weed Eater and Keep It Running Smoothly
There's nothing more frustrating than a weed eater that refuses to start. You pull the cord, and all you get is silence or a weak sputter. If your gasoline-based weed eater is giving you trouble, there's a good chance it's flooded.
This common issue occurs when there's too much fuel in the engine, and luckily, it's usually an easy fix.
This guide will walk you through the science of why an engine floods, a step-by-step process to get your trimmer running again, and the essential maintenance tips to prevent it from happening in the future.
The Science of a Flooded Engine
A small engine needs a precise mixture of air and fuel to create the combustion that powers it. Flooding occurs when this mixture becomes too "rich," meaning there's an overabundance of fuel and not enough air.
This can happen for a few common reasons:
- Improper Choke Use: Using the choke on a warm engine introduces too much gasoline into the combustion chamber.
- Over-Priming: Pumping the primer bulb excessively forces too much fuel into the fuel line.
When the engine is flooded, the excess gasoline can wet the spark plug, preventing it from creating the spark needed for ignition. The good news is that the solution is often as simple as giving the excess fuel time to evaporate.

🛠️A Step-by-Step Guide to Starting a Flooded Weed Eater
- Wait Patiently: Give the trimmer a 10-15 minute break. This allows the excess fuel in the combustion chamber a chance to evaporate.
- Check the Spark Plug: Remove the spark plug and inspect it. If it's wet with gasoline, wipe it clean with a cloth. This is also a good time to check if it's dirty or worn out.
- Clear the Fuel Line (Last Resort): In severe cases, you can remove the fuel line from the carburetor and drain any excess fuel into a safe container. This step is usually not necessary.
- Prime the Engine: Once you've waited, pump the primer bulb a few times to bring fresh fuel into the carburetor.
- Disengage the Choke: Make sure the choke is in the "Off" or "Run" position. This is critical to prevent it from flooding again.
- Pull the Starter Rope: Pull the starter rope slowly and steadily. If it doesn't start on the first try, wait a few seconds before trying again.
- Warm Up the Engine: Once it starts, let it run for a few minutes to warm up and clear out any remaining excess fuel.
⚙️Why Does My Weed Eater Keep Flooding?
Sometimes, it's not your fault! If your trimmer floods repeatedly, it could be due to an underlying mechanical issue:
- Carburetor Issues: A clogged or dirty carburetor can't mix fuel and air correctly, leading to a rich mixture that floods the engine.
- Stiff Metering Diaphragm: This small, flexible part regulates fuel flow. If it becomes stiff with age, it can't do its job properly, causing flooding.
- Incorrect Needle Valve Adjustment: The needle valve controls the flow of fuel into the carburetor. If it's not adjusted correctly, it can allow too much fuel to enter.
If you suspect one of these issues, it may be time to clean or rebuild the carburetor. Here's a great YouTube lesson on how to remedy such problems.
✅General Maintenance Tips for a Happy Weed Eater
Regular maintenance is the key to preventing problems before they start. Here are some essential tips:
Engine and Fuel System Care
- Use Fresh Fuel: Always use fresh fuel mixed with high-quality 2-cycle oil at the correct ratio.
- Clean the Air Filter: Regularly check and clean the air filter to ensure proper airflow.
- Check the Spark Plug: Inspect and replace the spark plug as needed. Ensure it is correctly gapped.
- Inspect Fuel Lines and Filter: Regularly check the fuel line for cracks and the fuel filter for clogs.
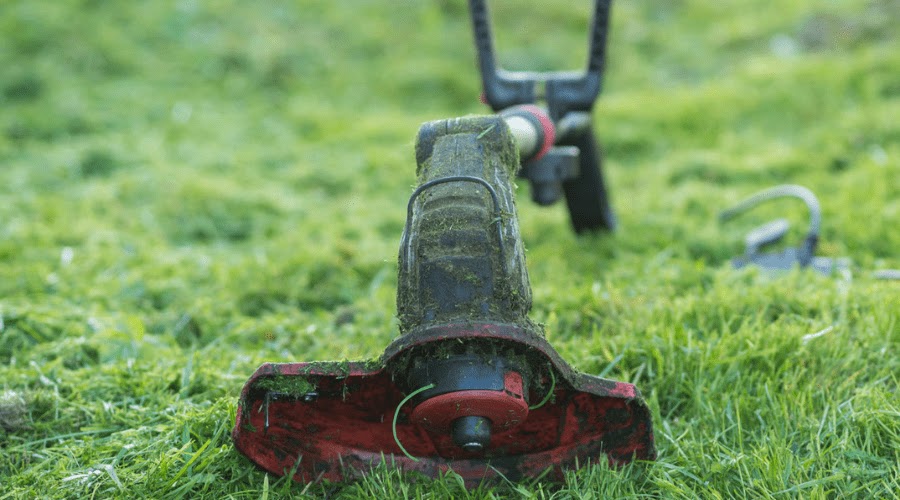
Trimmer Head and Line Care
- Keep it Clean: After each use, clean the trimmer head to remove any grass clippings and debris.
- Load the Line Correctly: When replacing the line, wind it onto the spool in the direction indicated by the arrow.
- Adjust the Tension: The line should be tight enough to prevent slipping but not so tight that it's difficult to turn.
🛡️Safety First: How to Use a Line Trimmer Safely
Always prioritize safety when operating a weed eater:
- Wear safety glasses or goggles, hearing protection, sturdy shoes, and long pants.
- Hold the trimmer with both hands and maintain a balanced stance.
- Be mindful of obstacles like rocks, roots, and fences.
- Always turn off the engine before making any adjustments.
- Never remove the debris shield.


